

Restoring a T9 vintage trimmer can be a rewarding experience for those who enjoy working with their hands and restoring old mechanical devices. Here’s a beginner’s guide to getting started:

Assess the Condition of the Trimmer:
The first step in restoring a T9 vintage trimmer is to assess its condition. Check for rust, corrosion, and wear on the blades and other parts of the trimmer. Make sure that the motor is functioning properly and that the trimmer is not missing any parts.

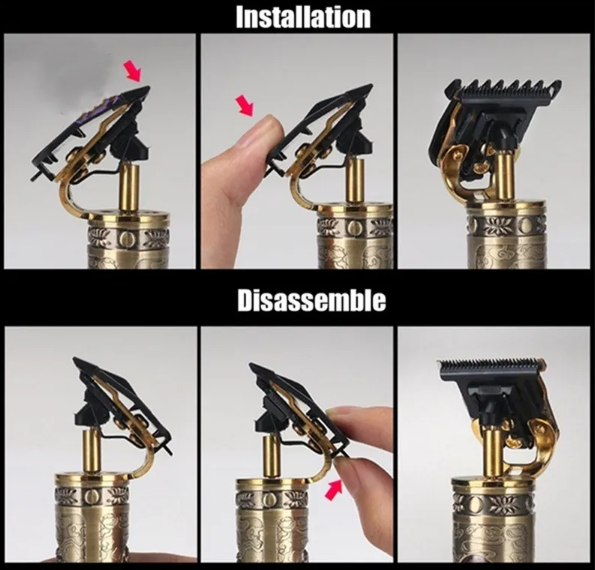
Disassemble the Trimmer:
Once you have assessed the condition of the trimmer, you will need to disassemble it. This involves removing the blades, the motor, and other parts. Take care to label each part as you remove it, so you know where it goes when it’s time to reassemble the trimmer.
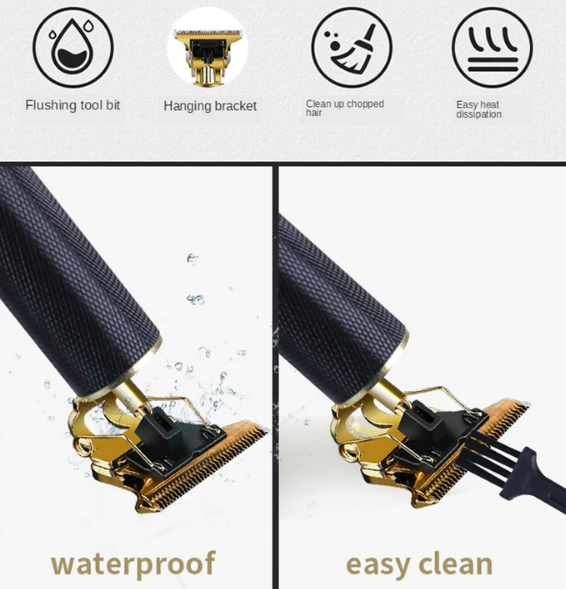
Clean the Trimmer:
Once the trimmer is disassembled, you will need to clean it thoroughly. Use a soft-bristled brush and a cleaning solution to remove any dirt, grime, or rust. Be careful not to use too much water, as this can cause rust or damage to the electrical components of the trimmer.
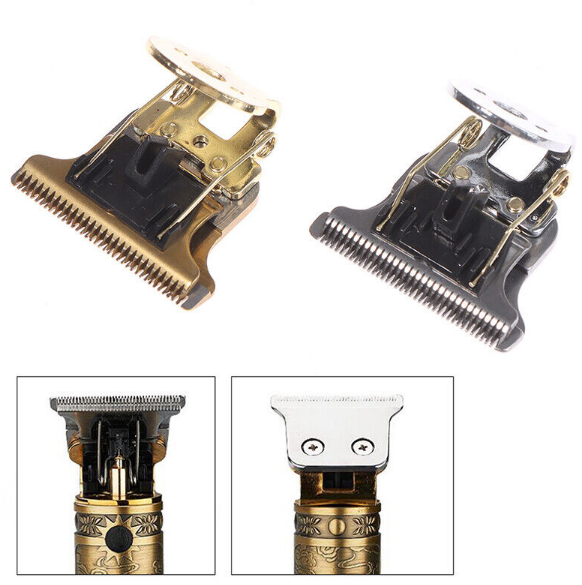
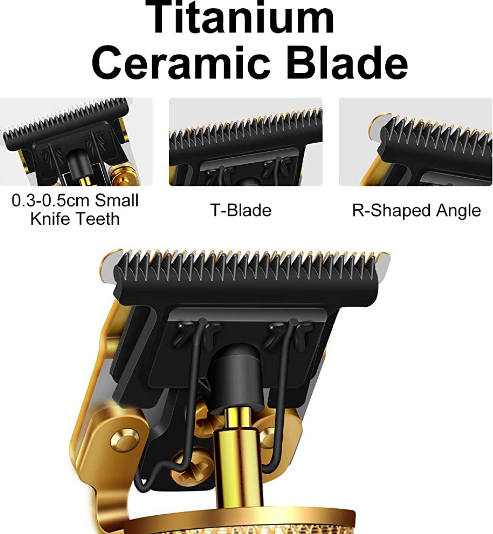
Replace Parts as Needed:
Inspect each part of the trimmer and replace any parts that are damaged or worn. This may include the blades, motor, or other components. You can order replacement parts online or from a local hardware store.
Lubricate the Trimmer:
After cleaning and replacing any necessary parts, you will need to lubricate the trimmer. Use a lightweight oil or spray lubricant to lubricate the blades and other moving parts. This will help the trimmer to operate smoothly and prevent rust.
Reassemble the Trimmer:
Once you have cleaned, replaced parts, and lubricated the trimmer, it’s time to reassemble it. Follow the labels you made when disassembling the trimmer to ensure that each part is correctly installed.
Test the Trimmer:
Before using the trimmer, test it to make sure it’s working properly. Plug it in and turn it on to see if the blades are rotating smoothly. If everything looks good, you’re ready to start using your restored T9 vintage trimmer.
In summary, restoring a T9 vintage trimmer involves assessing its condition, disassembling it, cleaning it, replacing any worn or damaged parts, lubricating it, reassembling it, and testing it. With a little patience and elbow grease, you can restore your T9 vintage trimmer to its former glory.